
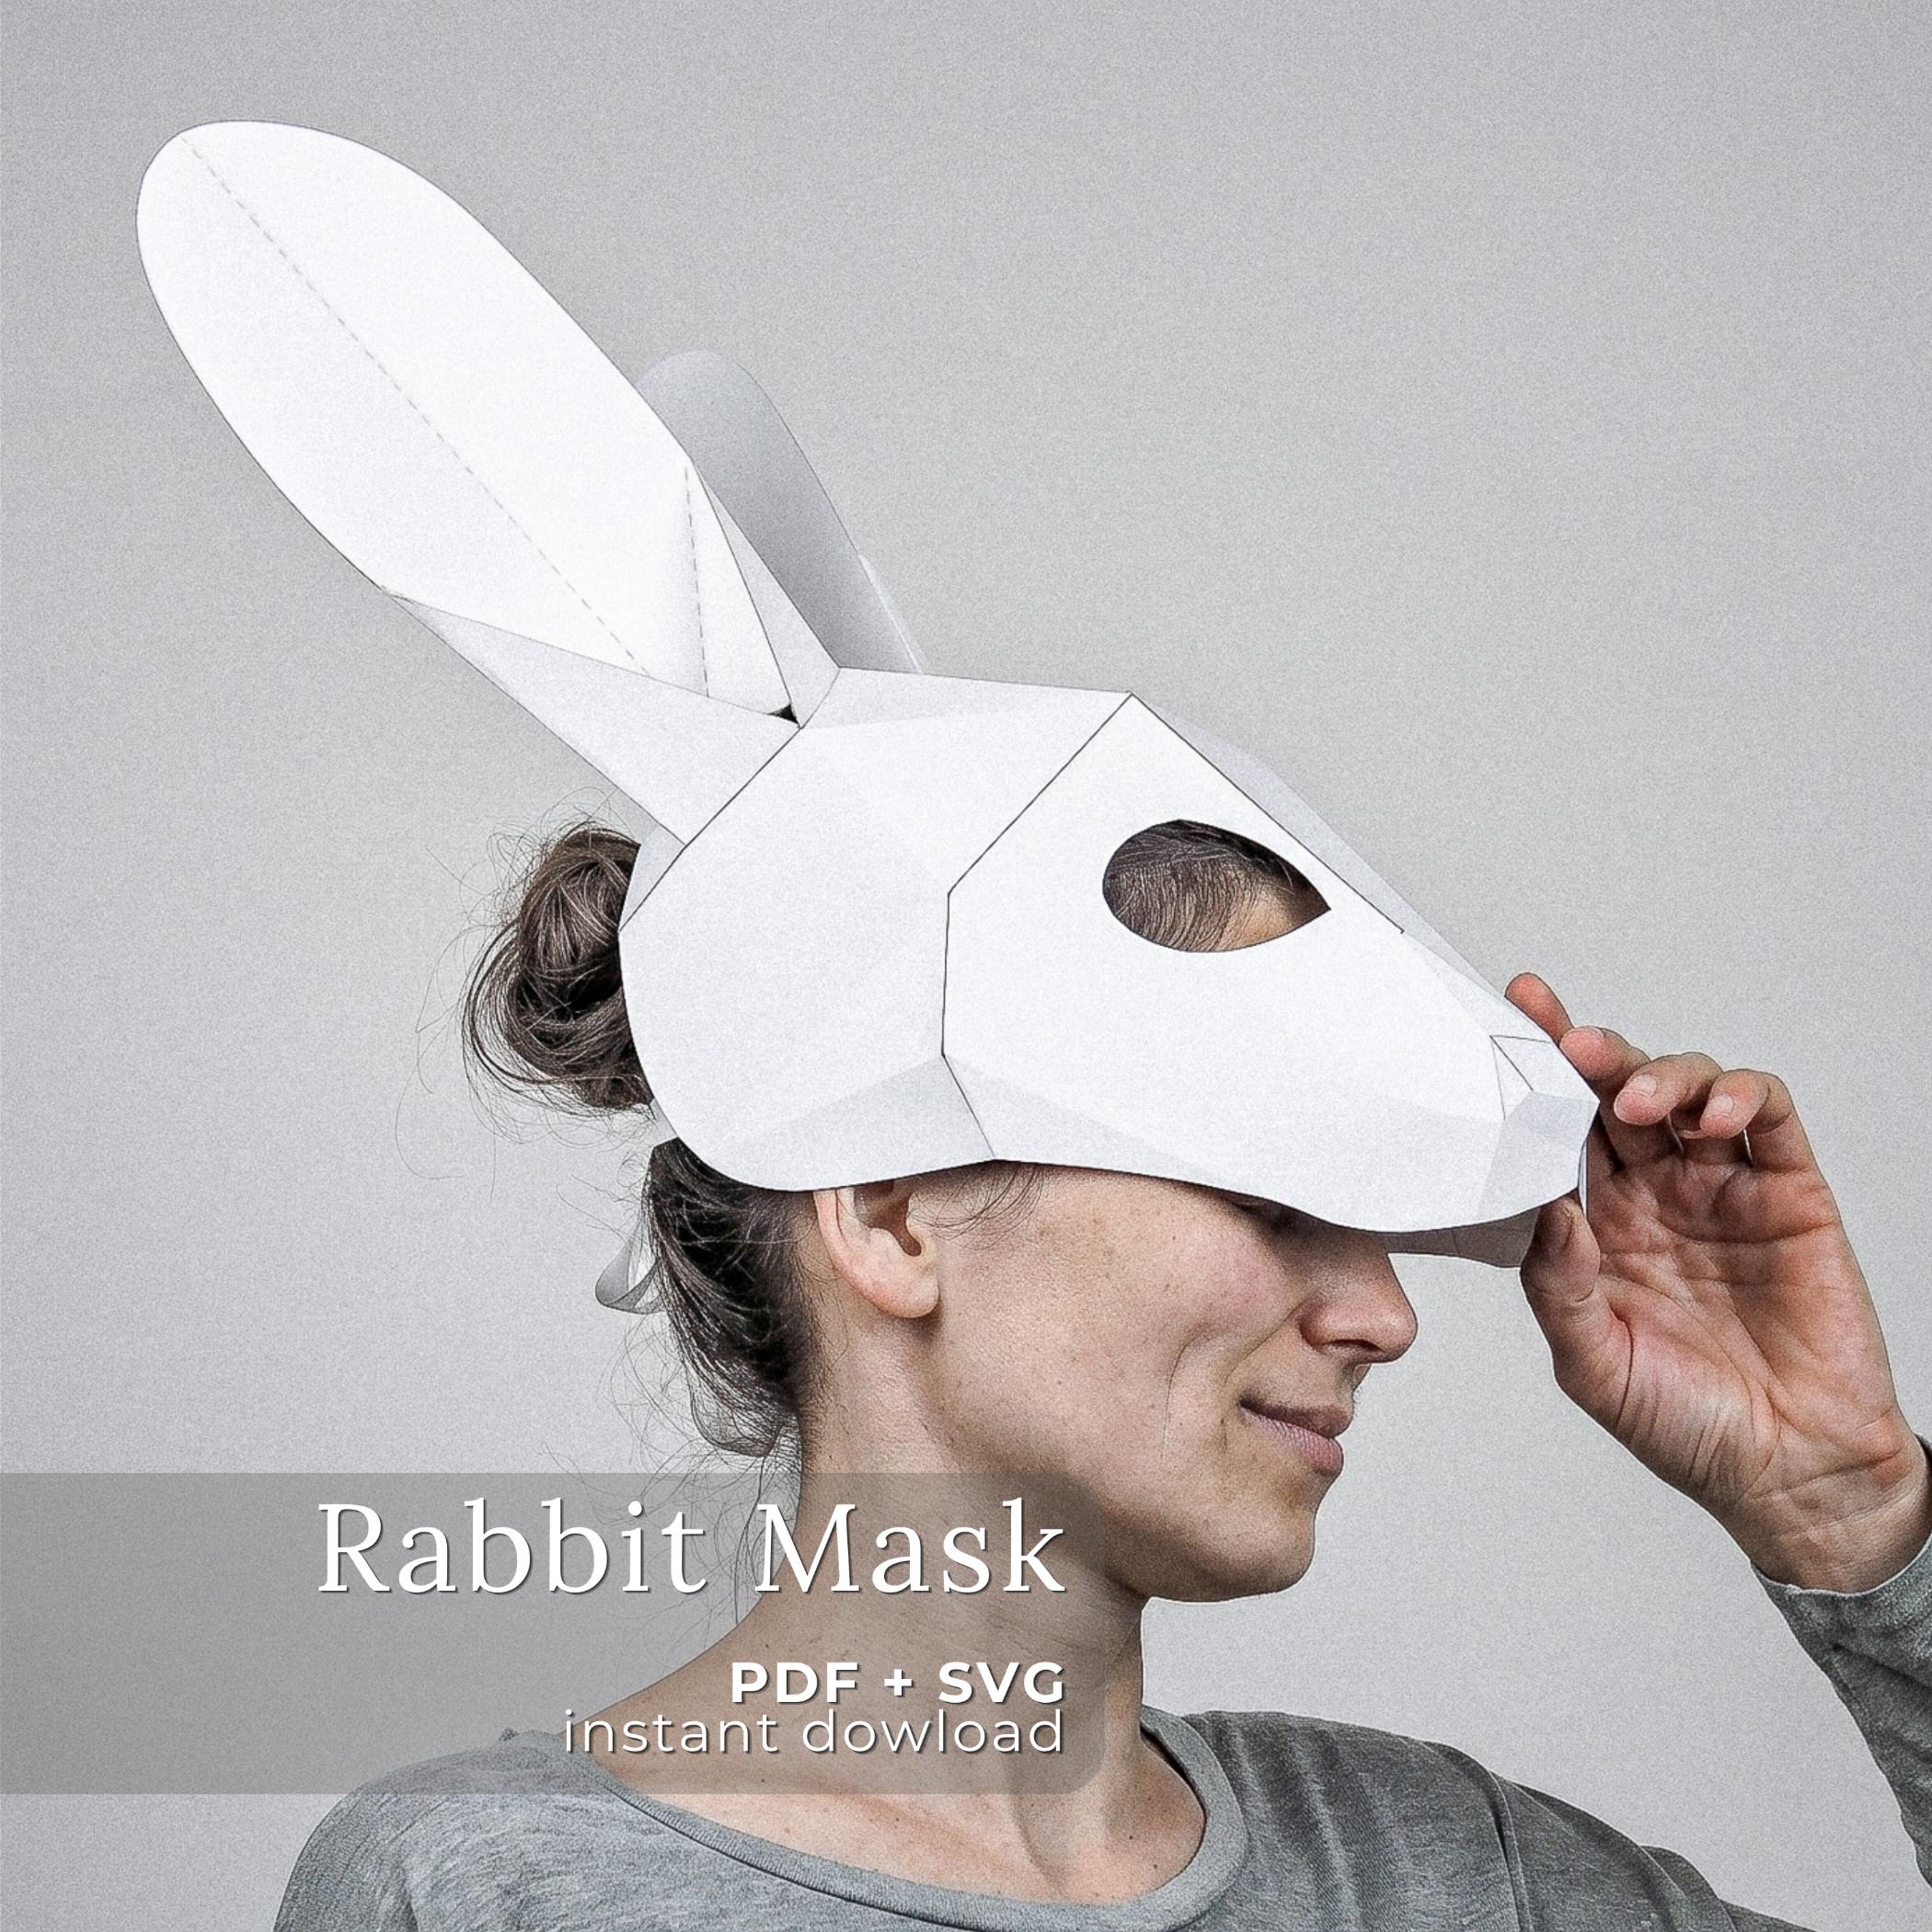


Paper Rabbit Mask Template — Bunny Half-Mask (PDF + SVG)
7,00 € {with Tax}
• A paper rabbit mask you build from a printable template.
• A half-mask that also sits on top of the head, leaving the face free.
• 6 sheets · 41 cm tall · 3–4 hours to build · Adult and Kids sizes · PDF + SVG.
• Instant download — all you need is paper and an afternoon.
What it is
The Paper Rabbit is a half-mask you print, fold and glue from six sheets of card, then tie on with a ribbon. The brief was a mask that is simple to make but still makes an entrance — and one that looks just as good pushed up onto the top of the head, with the face uncovered. The rabbit mask pattern uses one pink sheet for the inner ears and five in grey, brown or white, and the finished mask stands 41 cm (16.1 in) to the ear tips.
It isn’t a typical faceted mask: the folds follow one smooth, flowing line from the nose up into the ears. In white it’s the rabbit from a school production of Alice in Wonderland; in brown it becomes a hare mask; in any other colour, it’s whatever rabbit you had in mind.
Specifications
| Files | PDF (A4 and US Letter) + SVG cut files, Adult and Kids sizes |
| Finished size (Adult) | 18 × 22 × 41 cm (7.1 × 8.7 × 16.1 in) — width × depth × height |
| Number of sheets | 6 (1 pink + 5 grey, brown or white) |
| Build time | 3–4 hours |
| Skill level | Level 2 of 4 — Easy-going |
| Recommended paper | 180–280 gsm card |
| Fit | Adult and Kids sizes · held with a ribbon · worn over the eyes or on top of the head |
| Machine compatibility | Cricut, Silhouette (separated cut + crease lines) |
| Delivery | Instant digital download |
Where it belongs
Made for: Easter · Halloween · school plays & Alice in Wonderland · costume parties · photo shoots
At Easter it’s the bunny mask that can be pushed up between egg hunts, so children can see where they’re running and still look the part. The same two positions work on stage — over the eyes for the scene, up on the head for the bows — and at Halloween, makers have filled the eyes with red cellophane or sheer fabric for something far less friendly.
How you build it
- Print or cut. Print the PDF (A4 or US Letter) at home on card, or send the SVG to a Cricut or Silhouette — cut and crease lines are separated, ready to go.
- Score and fold along the marked lines. This is what gives the rabbit mask its clean, sculpted shape.
- Glue the numbered pieces in sequence. The numbering means you’re never guessing what connects to what.
- Wear it. Tie a ribbon through the sides, then wear the mask over the eyes or push it up onto the top of the head.
How hard is it?
Level 2 of 4 — Easy-going: Six sheets, long smooth folds and an afternoon’s work. Comfortable for a second or third project, and simple enough to build with older children.
What do I get?
- PDF templates (Adult and Kids sizes) in A4 and US Letter
- SVG cut files (Adult and Kids sizes)
- Illustrated step-by-step instructions
- Instructions in English
What makers say
“Super easy to put together, and easy to modify for my own design. Works well on cardstock! I cut the eyes a bit bigger, added hot glue and sheer fabric and it made a great halloween mask. Excellent design!” — Cecy, via Etsy
“Really fun and easy pattern. Made it for Halloween and put red cellophane in the eyes. It was fantastic!” — Carling, via Etsy
Questions makers ask
Made, not just drawn
By the time a template reaches the shop, it has been made by hand at least three times. The folds, the glue tabs, the order of assembly — all of it is tested on real paper before it ever reaches you. It’s the standard behind every one of our 9,400+ sales.
About us
Smaga Paperwood is two sculptors working from the edge of a forest in the Polish countryside, designing paper templates meant to be built, not just admired. When you build one, you’re following folds we worked out by hand ourselves.


